Administration
The Administration area offers you the possibility to manage Users: create, edit, search and delete them. You can also manage User Groups and User roles, as well as make other administrative settings here, like authorizing Processes to certain user groups and changing the UI configuration.
However, the Administration area is only displayed if you have the user role Administrator.
User management
Inside the User management administration, you have the possibility to see the entire user list and to create, edit, search and delete users.
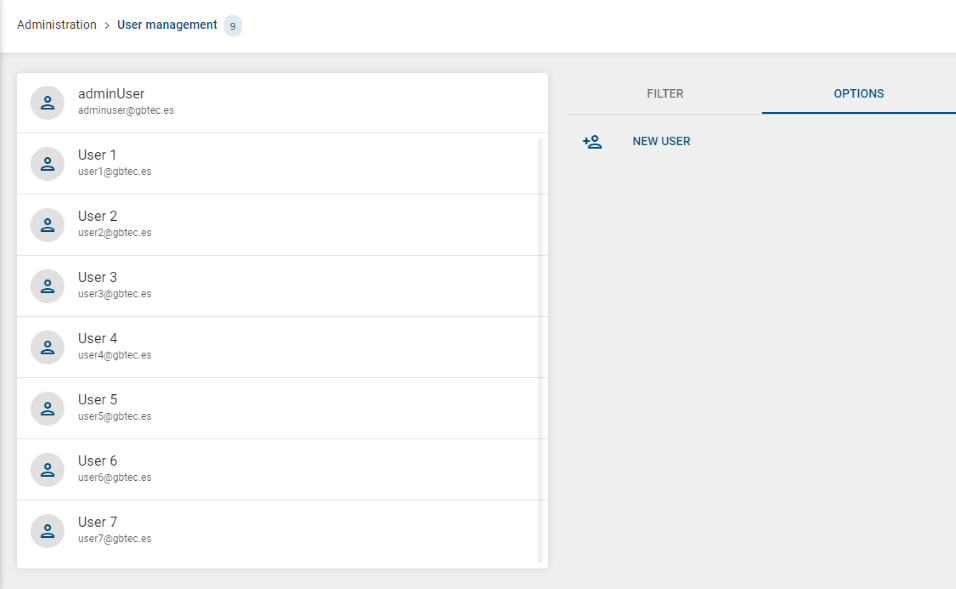
Moreover, the current number of all existing users is displayed in the header bar, next to the breadcrumb.

How do I create a new user?
First, navigate to the Administration area and select User management. Then open the OPTIONS tab on the right side and click on NEW USER.

In order to create a new user, you must enter the name and email address of the new user, and submit the form.

After submitting the form, the user is created inside the system and receives an email that contains an activation link.
Hint
The activation link has a limited duration of twelve hours.
How do I delete an existing user?
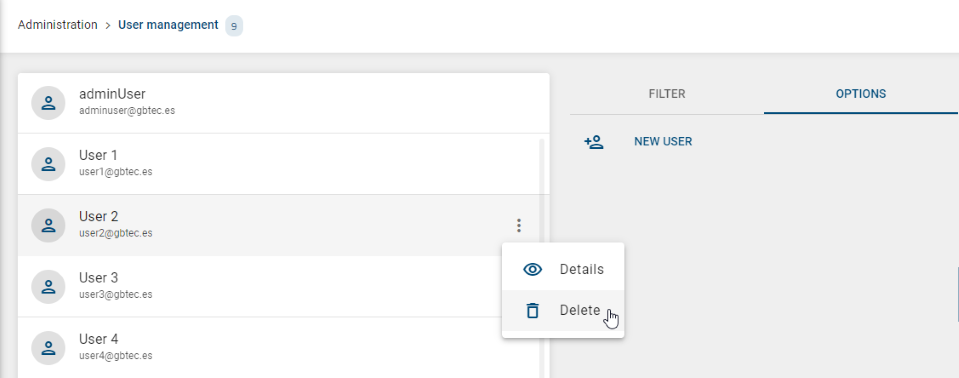
Navigate to the Administration area, select User management and navigate to the user you want to delete. Now, open the context menu by clicking on the three dots on the right side of the working area. Then choose Delete.
Warning
After clicking Delete, the user will be permanently removed from the system.
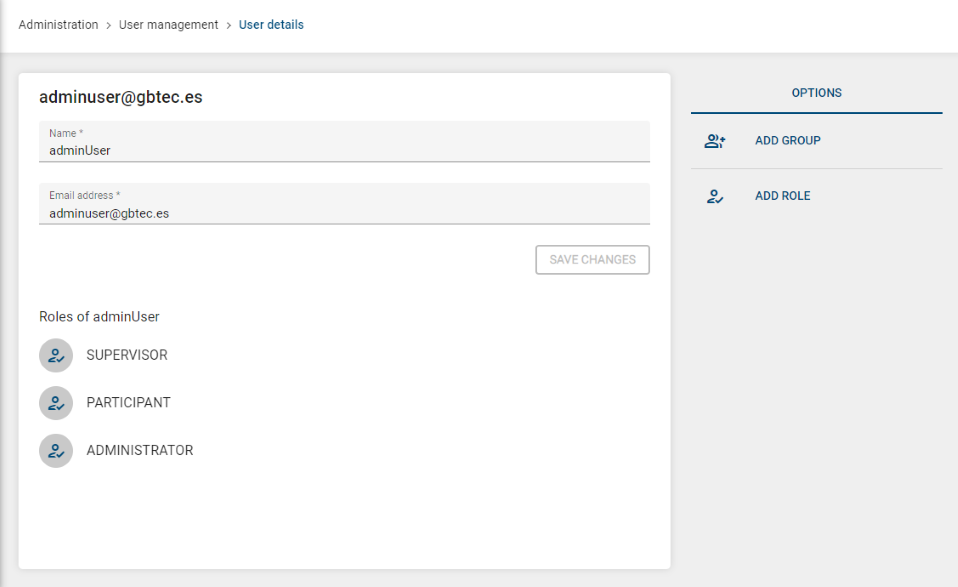
How do I edit user details?
Navigate to the Administration area, select User management and click on the user whose details you want to change.
How do I search for a user?
Navigate to the Administration area and select User management. You will then see the filter symbol (represented by a funnel) on the right side. Now, you can enter the email address or the name of the user and search for it.

Note
Search results are also displayed for which the entered term is only part of the name. For example, the search term “Mann” finds the name “Mustermann”.
How can I add users to a user group?
Navigate to the Administration area and select User management. Now select the user to whom you want to assign a specific user group. To do this, open the context menu and click on Details.
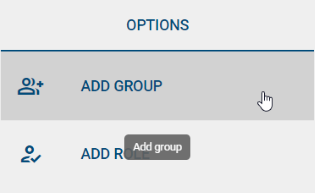
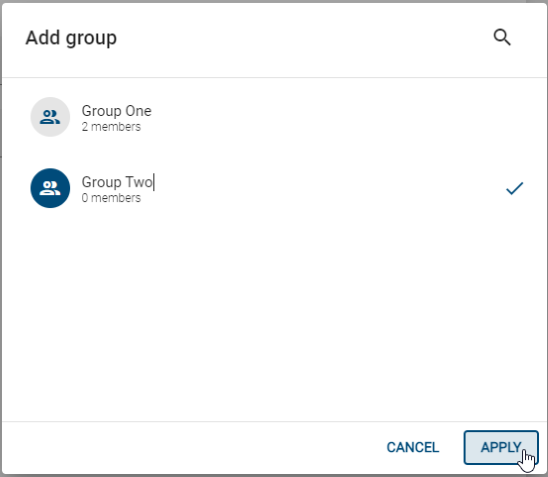
With ADD GROUP you can now assign the user to the desired groups. Confirm your choice with APPLY.
How can I remove users from a user group?
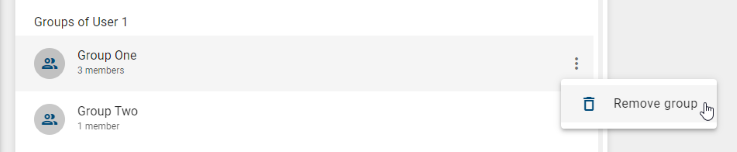
Navigate to the Administration area, select the User management and open the details of the user you would like to remove from a specific user group. In the section Groups of {Name} hover over the desired group, click on the three dots on the right and select the option Remove group.
Group management
Inside Group management administration you can assign Users to certain User groups and manage them.
How can I manage user groups?
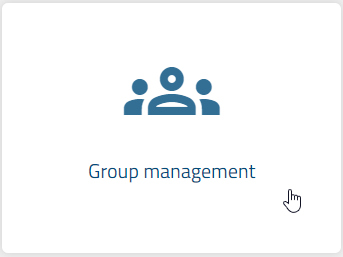
Navigate to the Administration area and then click on Group management.
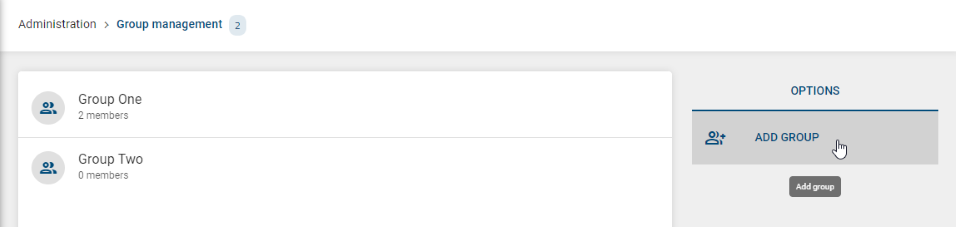
Here you get an overview of all user groups in alphabetical order and you can see the number of current user groups to the right of the heading Group management. The number of associated users is also displayed directly under the name of the respective user group.
How can I create a new user group?
To create a new user group, navigate to the Administration area and click on Group management. Then click the ADD GROUP icon.
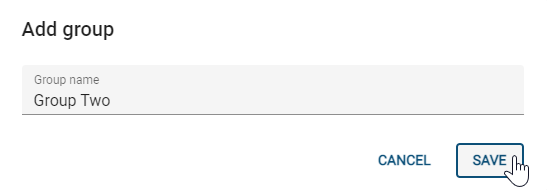
Then, enter your desired group name and the new group will be displayed in the overview.
How can I add users to a user group from the Group Administration section?
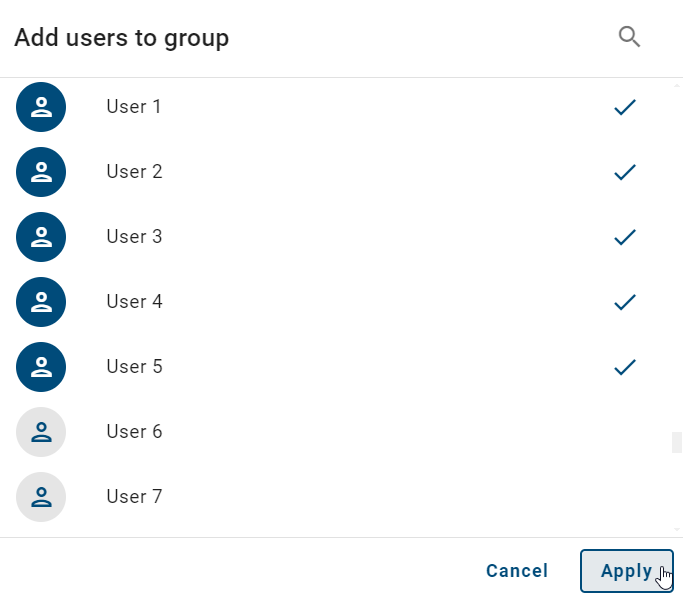
Navigate to the Administration area and select Group management. Then, click on the group you wish to add users to. Then, click on Add User on the Options side menu.

Then, select all the users you wish to add and click on Apply.
How can I remove users from a user group from the Group Administration section?
Navigate to the Administration area and select Group management. Then find the group you wish to remove users from. Then click on the three dots on the right and select Remove user.
How do I delete an existing user group?
Navigate to the Administration area and select Group management. Now go to the line in which the user group to be deleted is located and click on Delete.
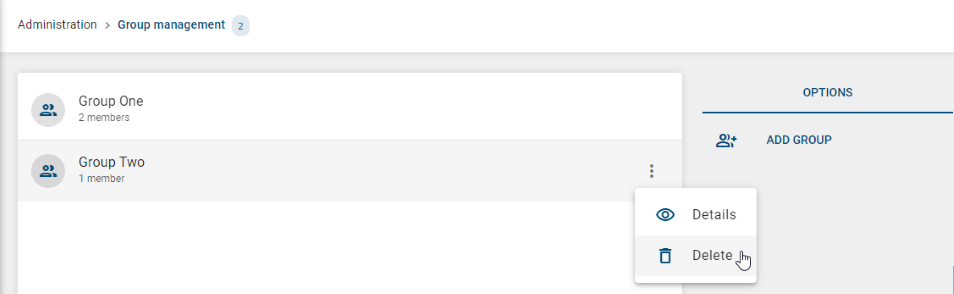
Warning
With Delete the user group is permanently removed from the system.
User roles
In general, there are four different available user roles: PARTICIPANT, ANALYST, SUPERVISOR and ADMINISTRATOR.
How can I visualize the list of existing user roles?
Only users with an ADMINISTRATOR role are able to visualize, assign and remove user roles according to their needs.
Navigate to the Administration area and then click on User roles.
The main screen of this section displays a list of the existing user roles inside the system.
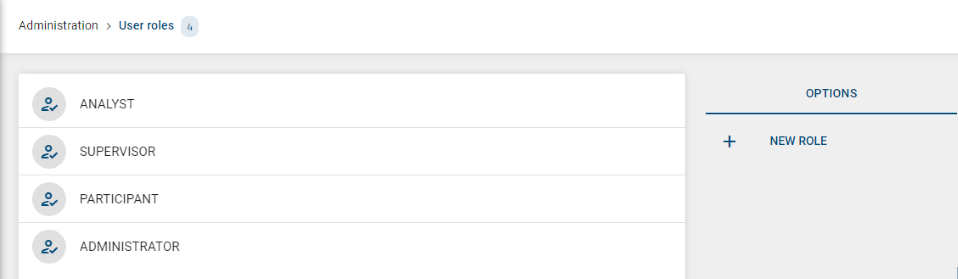
Also, the current number of all existing user roles is displayed in the header bar, next to the breadcrumb.

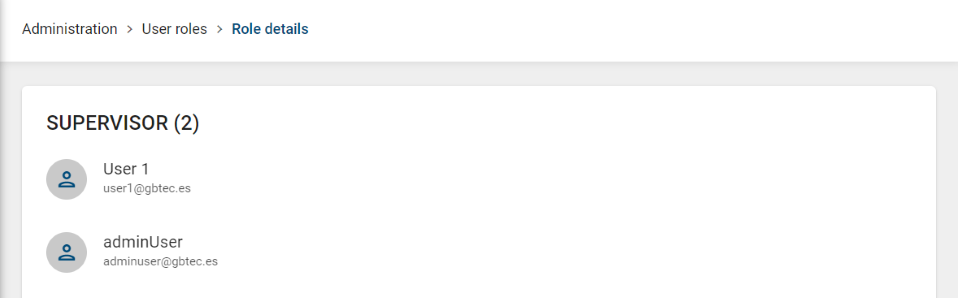
How can I know which users belong to each role?
Inside the User roles main screen, enter the Details view of one particular role. You can do this by clicking on a particular user role, or from the context menu located on the right side.
From this view, you can visualize the list of existing users belonging to the selected role.
How can I assign a new role to an existing user?
Navigate to the Administration area, select User management and click on the user to whom you want to assign a new role.
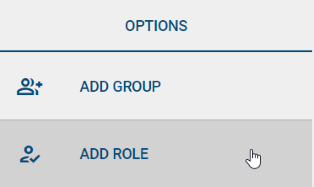
On the right side of the user Details view, click on the ADD ROLE button.
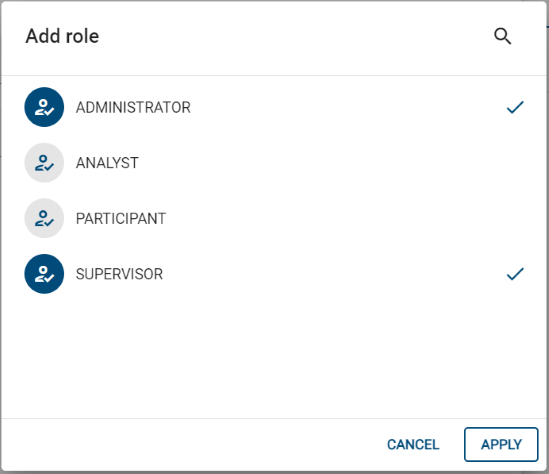
You can now assign a new role to the selected user. Confirm your choice with APPLY.
Hint
A role can be assigned to one or several users and a user can be granted several roles.
How can I remove the role of an existing user?
Navigate to the Administration area, select User management and click on the user whose role you want to remove.
Inside the user Details view go to the Roles of {Name} section.
By hovering the role and clicking on the three dots on the right you can remove the role from the user by clicking on Remove role.
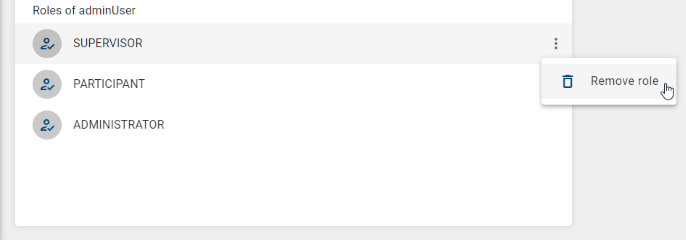
This section will be updated according to your choice.
Note
Even though users can hold more than one role at the same time, they must have at least one role.
Processes
Inside Processes administration you can authorize user groups to start certain processes.
As soon as you assign a user group to a process, no one except the group will be able to start this type of process, wether it is from the New Processes view or from the Risk/Control Catalogue.
Corporate Design
Inside the Corporate Design area you have the option to adapt the design of BIC Process Control to the corporate design of your company.
How can I change BIC Process Control colors?
Navigate to the Corporate Design.

An option appears in your work area in which you can adjust the Primary Color. To do this, click on the palette icon. After that, a window opens in which you can set your desired color, by selecting it or writting the Hex code.
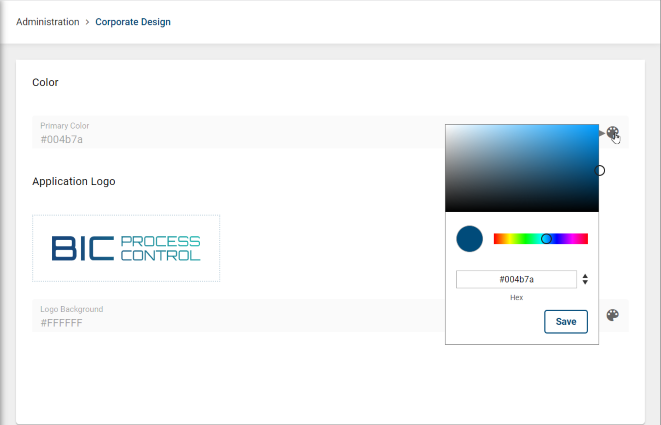
Save the change and the primary color will be updated.
Hint
The default color code of the application is #004B7A  .
.
How can I insert a company logo?
Navigate to the Corporate Design. Here, you have the option of replacing the Application Logo with your company logo.
Click on the logo currently in use, select your desired file and click Open to visualize the changes.
Hint
The uploaded picture will be resized by keeping the aspect ratio to fit this size: Maximum height: 48px, Maximum width: 180px
How can I change the logo background?
Navigate to the Corporate Design. Here, you can adjust the Logo Background. To do this, click on the palette icon. After that, a window opens in which you can set your desired color, by selecting it or writting the Hex code.
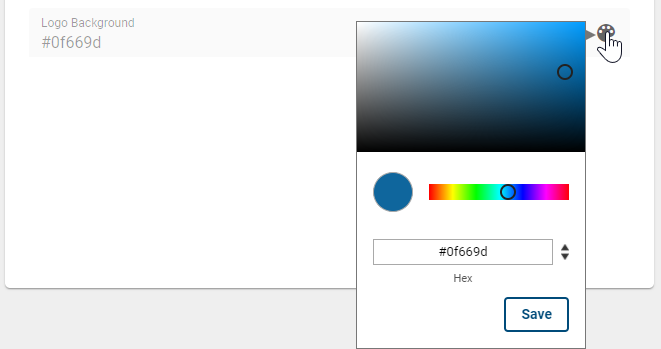
Save the change and the logo background color will be updated in the top left.
Hint
The background color can only be set for a transparent logo.
Archive
In the Archive view, you can set a retention period for risks and controls.
BIC Process Control creates a new version for a control or risk each time a change is made. The retention period defines how long an archived version remains in the system. As soon as a risk or control version receives the status “archived”, the currently defined retention period is saved in this version. Once the retention period has expired, the risk/control version is deleted from the system. If such a version was created by a process, like Risk Assessment or Test of Design, the process instance and its tasks are removed as well. This will only happen, if the process instance is finished and there are no other history entries referencing to it.
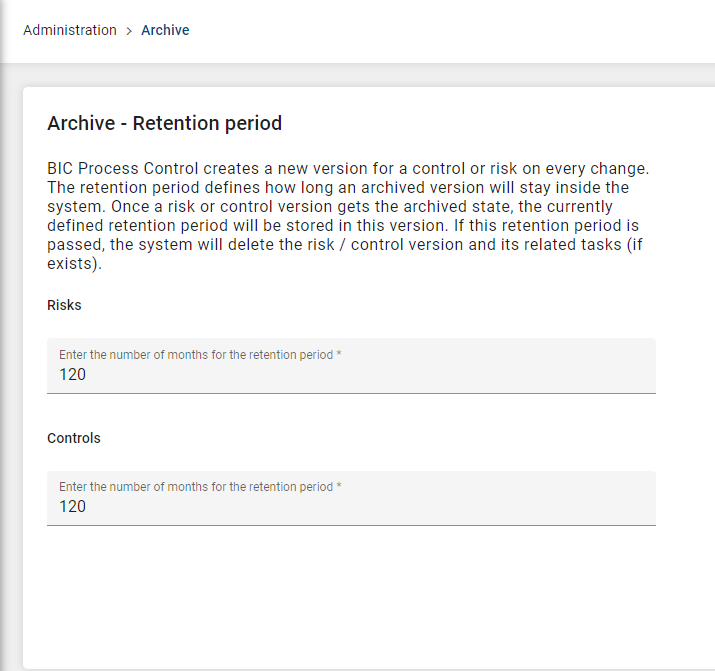
Here you can set the number of months as retention period for versions of risks and controls. By default the system will use a retention period of 120 months (10 years).
BIC Process Design Connector
In case your tenant has a connection to BIC Process Design the Administration view offers a tile called BIC Process Design Connector.
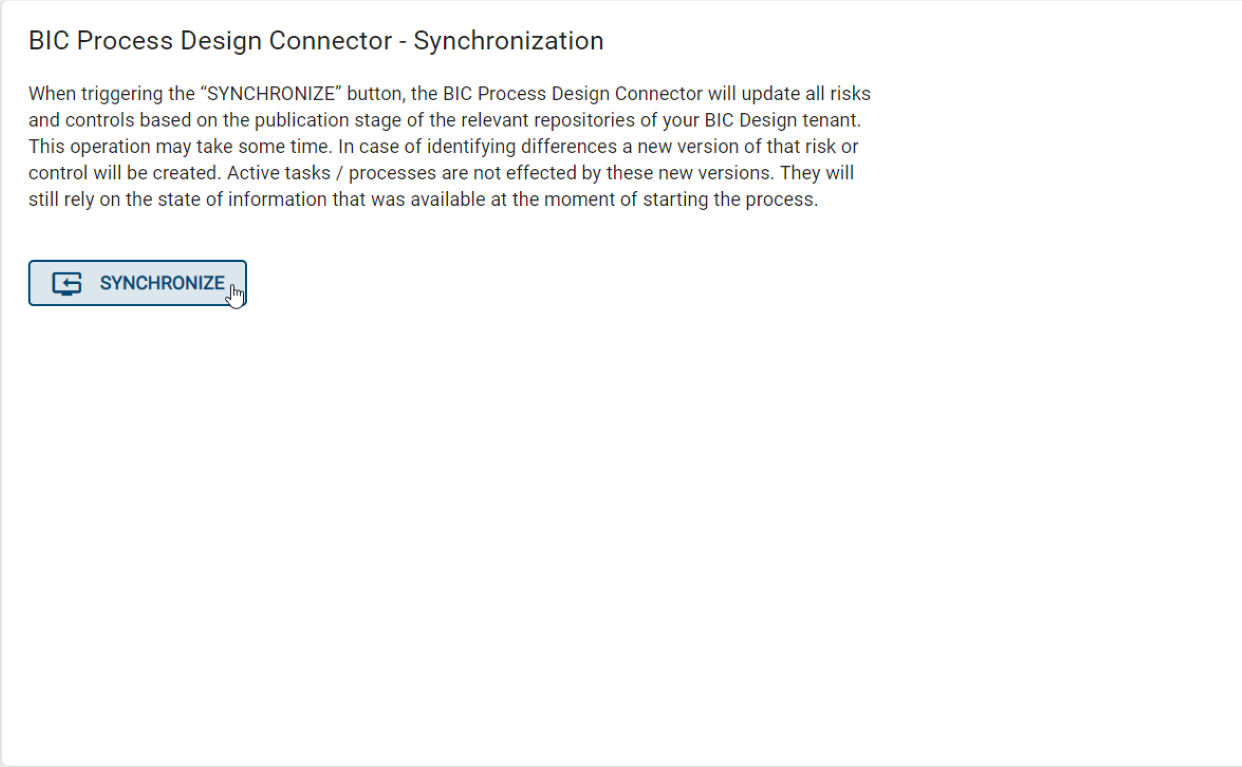
Here, when triggering the SYNCHRONIZE button, the BIC Process Design Connector will update all risks and controls based on the publication stage of the relevant repositories of your BIC Process Design tenant. This operation may take some time. In case of identifying differences a new version of that risk or control will be created. Active tasks / processes are not effected by these new versions. They will still rely on the state of information that was available at the moment of starting the process.
When the action is completed satisfactorily without errors in the top of the screen the following message appears.

When the action is not completed satisfactorily in the top of the screen the following message appears.
